Category: projects

  • Cactus 🌡

    Cactus 🌡

    What I learned

    • Magic ring technique (MR)
    • Double crochet technique(DC)
    • Single crochet (SC)
    • Slip stitch (SL ST)
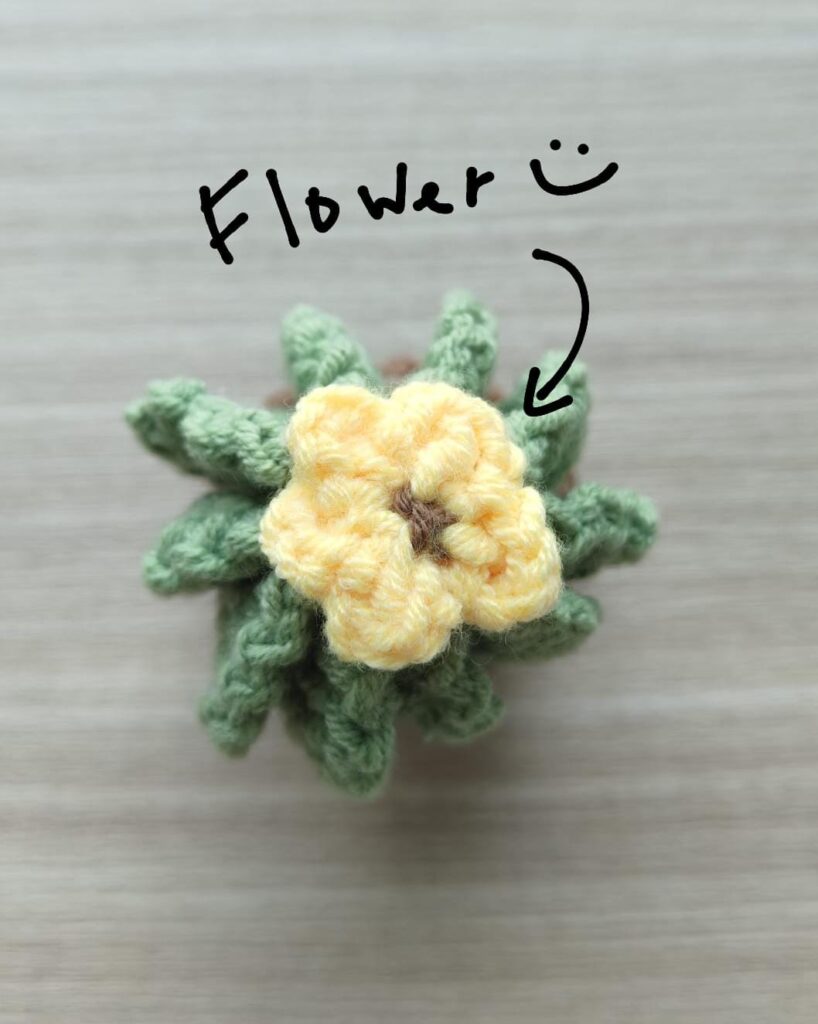
    • How to make a small flower

    Struggles

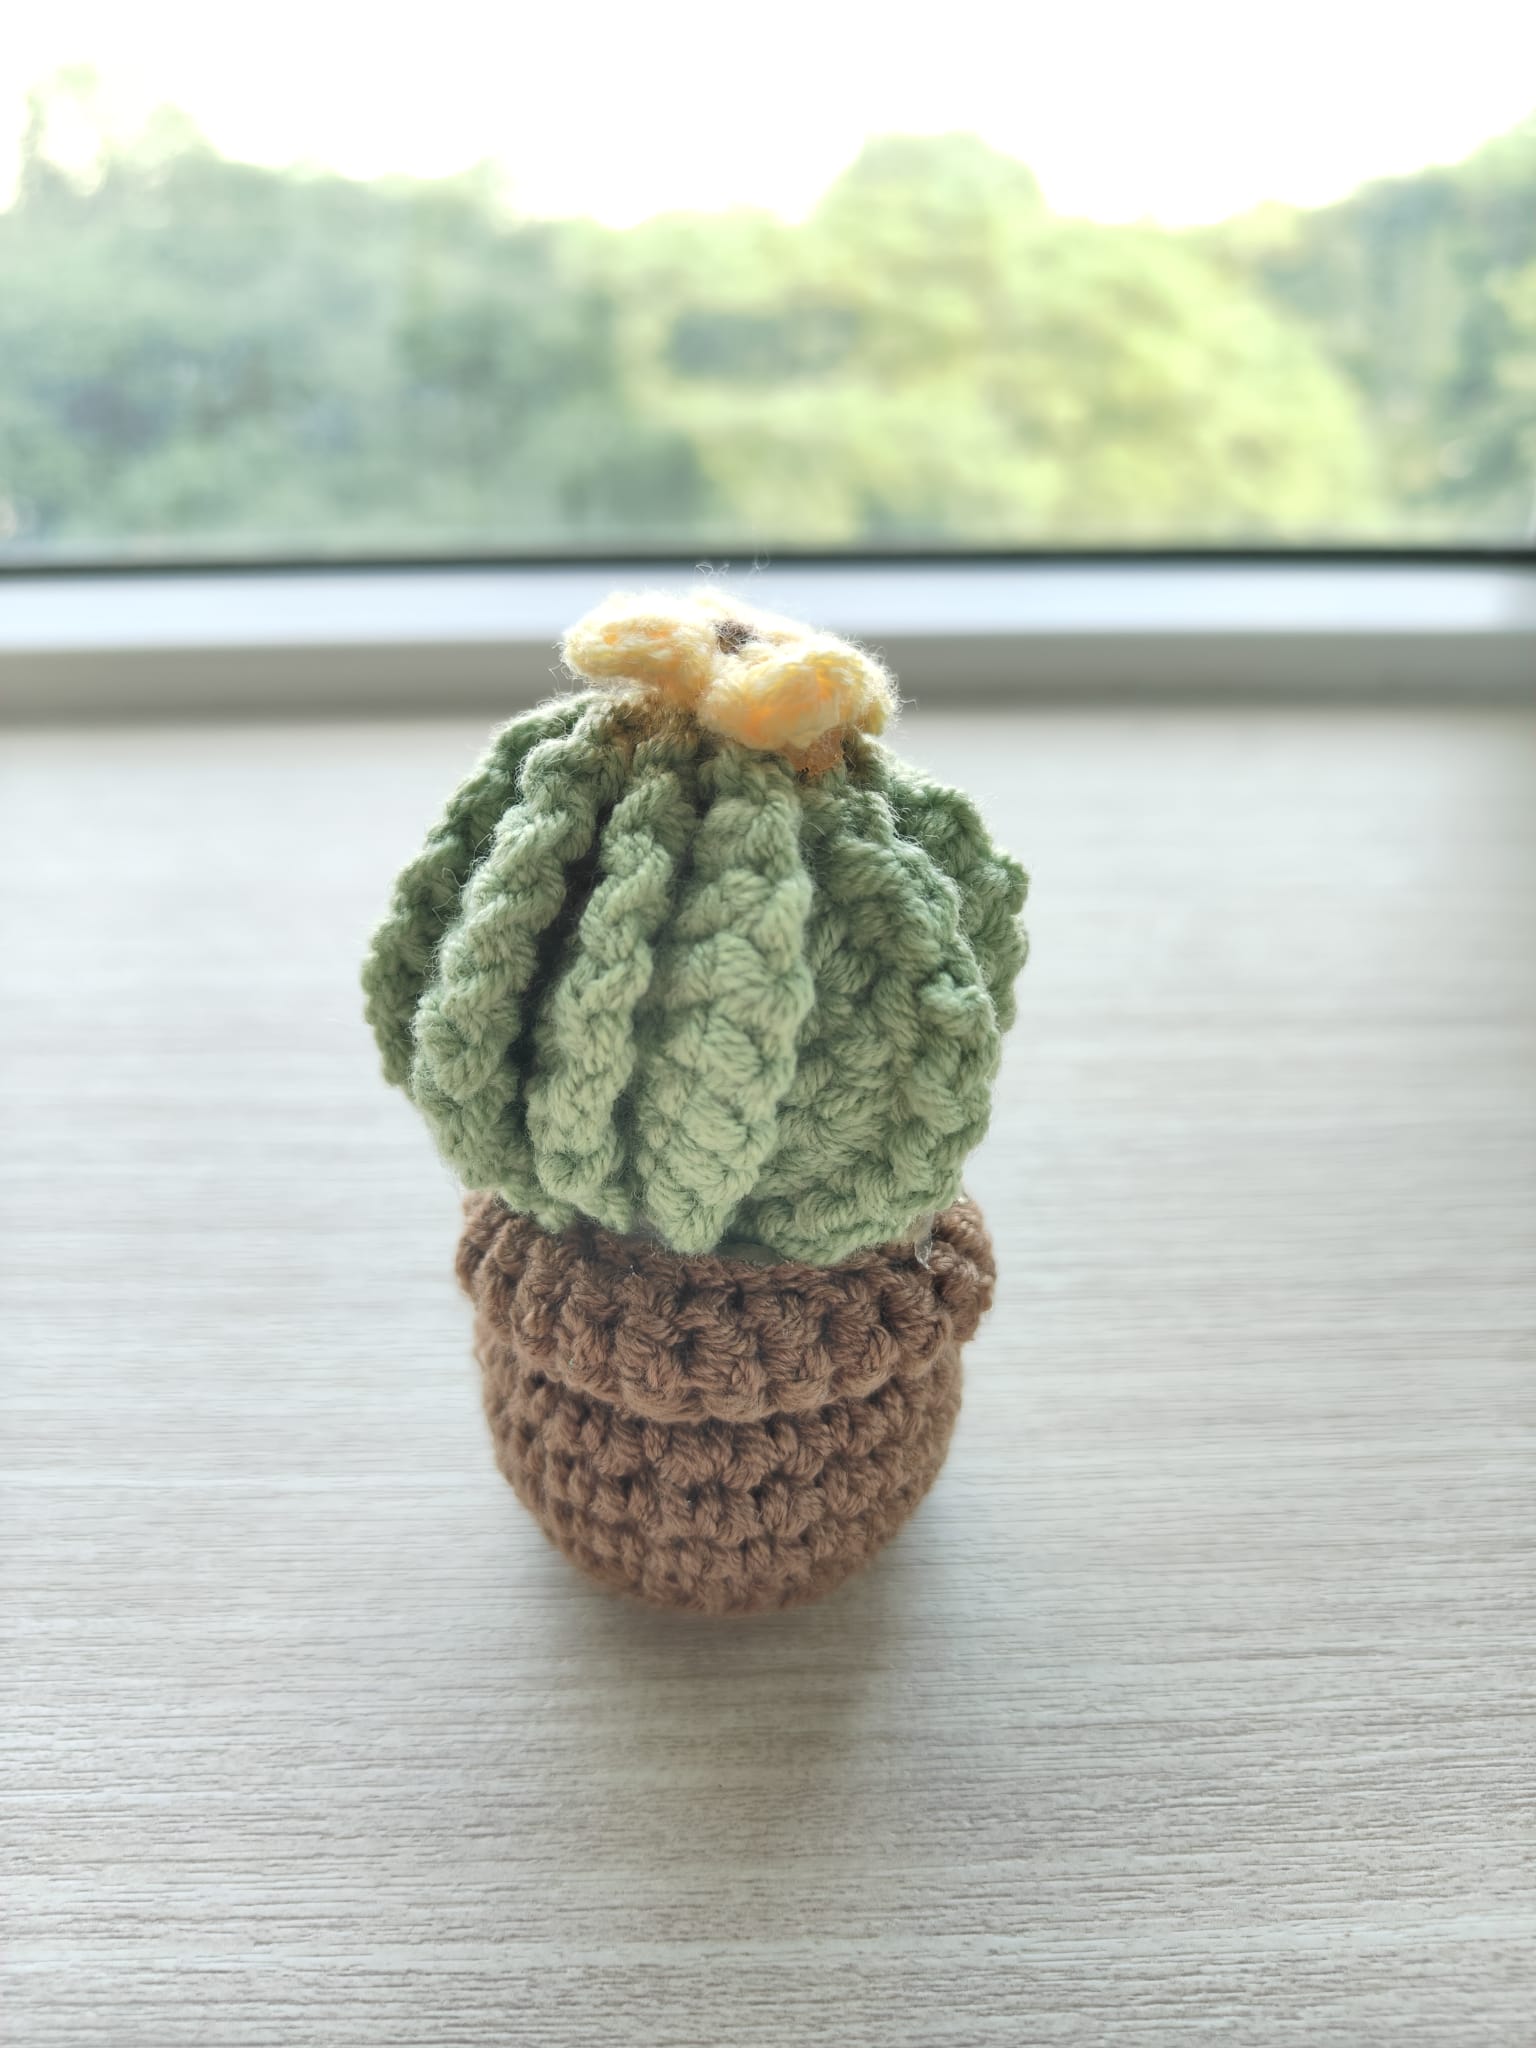
    • Miscounted the crochets for the pot, making my pot uneven and unable to stand sometimes
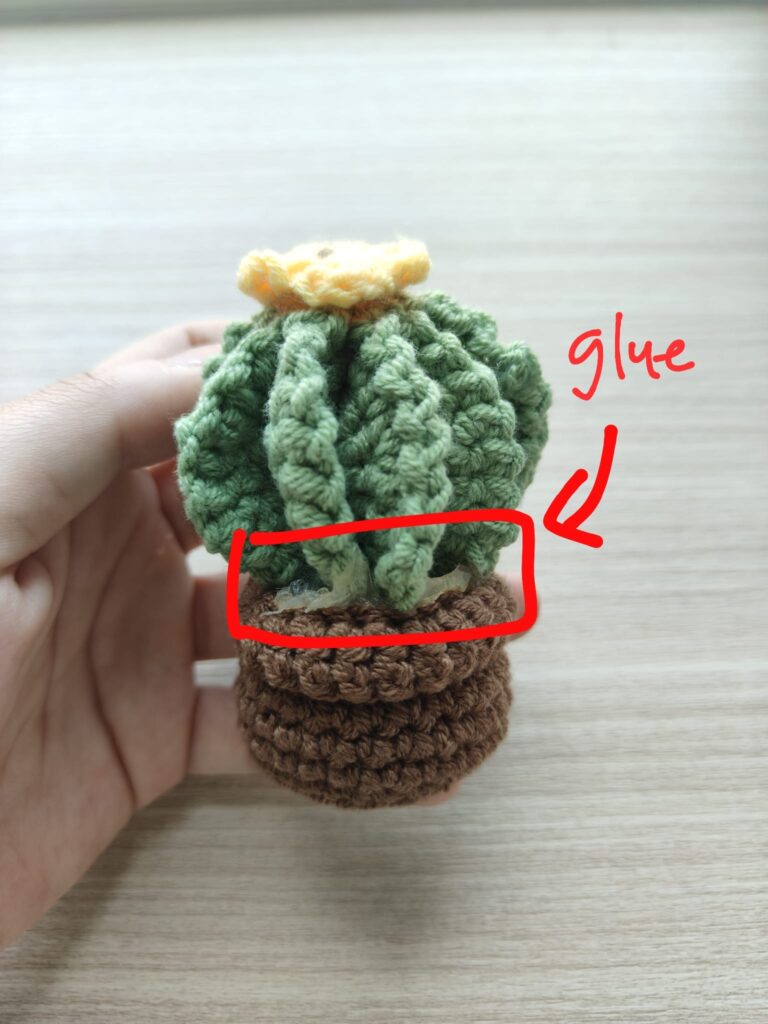
    • Although the video showed how she glued the cactus, I should have planned how to stick the cactus to the pot. The cactus is glued slanted, and the leaves are not separated evenly. Moreover, I can see some of the glue uncovered πŸ™

    Thoughts

    This project is a failure, the flower, cactus, and pot looked good individually, but when glued together…

    In the video, 2.5mm hook and yarn was used, so my cactus also came out bigger

    I think I will just use it for deco πŸ˜‚

    Materials I used:

    • 3.0mm hook
    • 4-ply yarn
    • Scissors
    • Stuffing
    • Hot glue/ super glue
    • Keychain ring (optional)

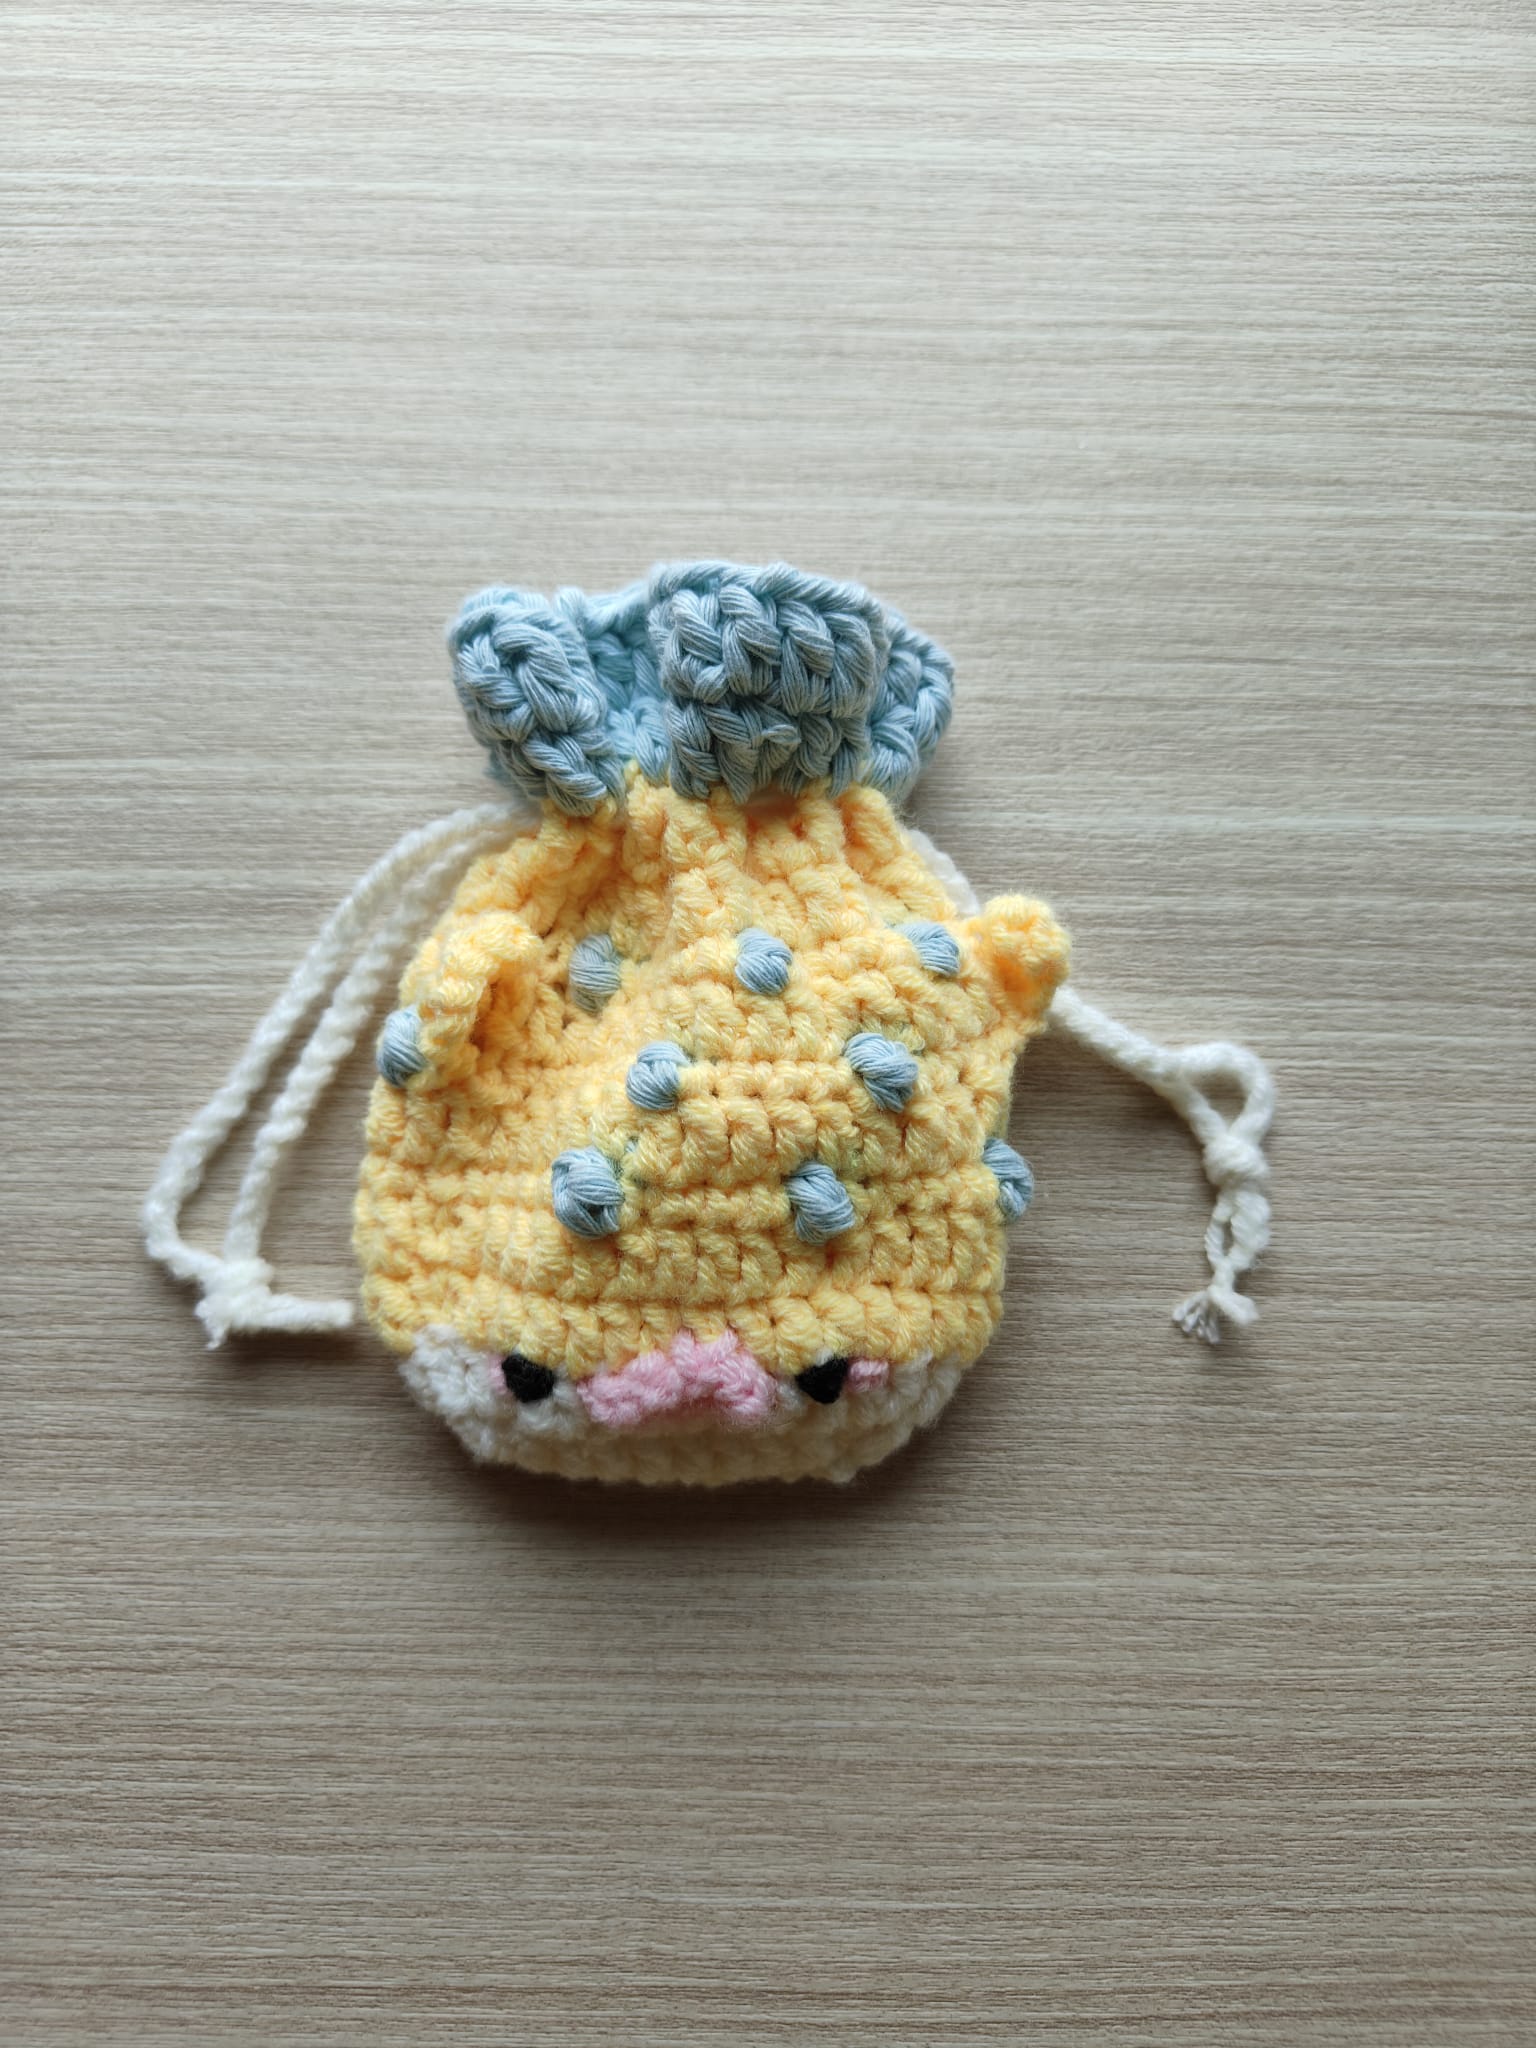
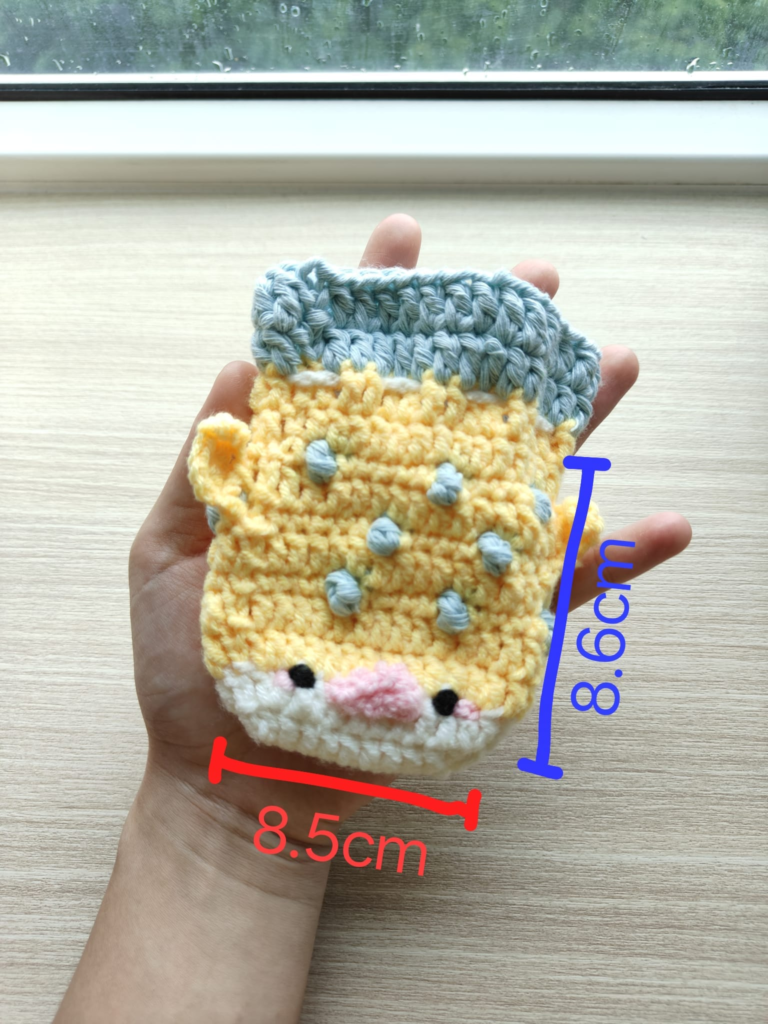
  • Pufferfish Pouch 🐑

    Pufferfish Pouch 🐑

    What I learned

    • Double crochet (DC)
    • Double crochet increase (Dc INC)
    • Single crochet (SC)
    • Treble/ Triple crochet (Tr)
    • Switching of yarn colors for the spikes
    • Practice sewing
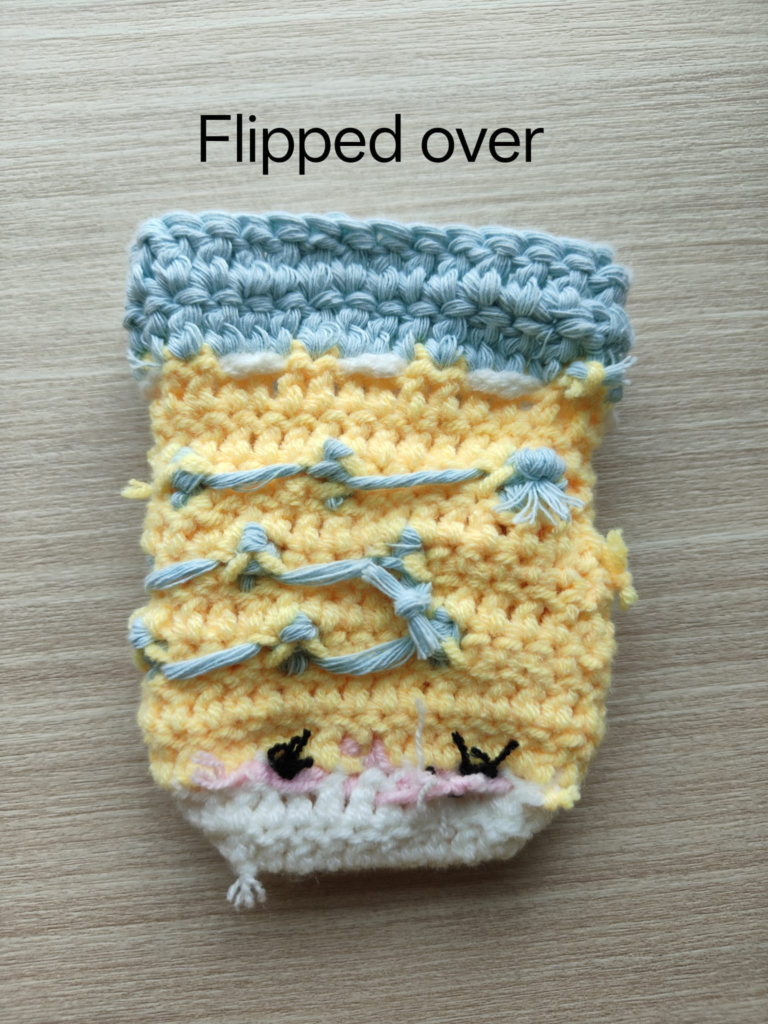
    • Cleaning up of leftover yarn when flipped inside out (shown below)

    Struggles

    • Doing triple crochet and switching yarn was confusing at the start, and yarn got tangled up a few times, but after a few more tries, it became more manageable.
    • I only had limited recycled type of yarn for the blue.
      • Firstly, this type of yarn is hard to crochet with as it is stiffer
      • Secondly, I don’t have blue for the fins. So prepare enough yarn!
    • Might have sewed the fins a little too high

    Thoughts

    This pouch was smaller than I expected, you can put small items like your ear piece/ lip balm but you can’t fit a computer mouse

    Also, I added another drawstring to make it more even, below are the steps if you would like the same:

    1. follow the steps for the first drawstring

    2. sew it into the same holes

    Materials I used:

    • 3.0mm hook
    • 4-ply yarn – 5 colours
    • Scissors
    • Crochet needle
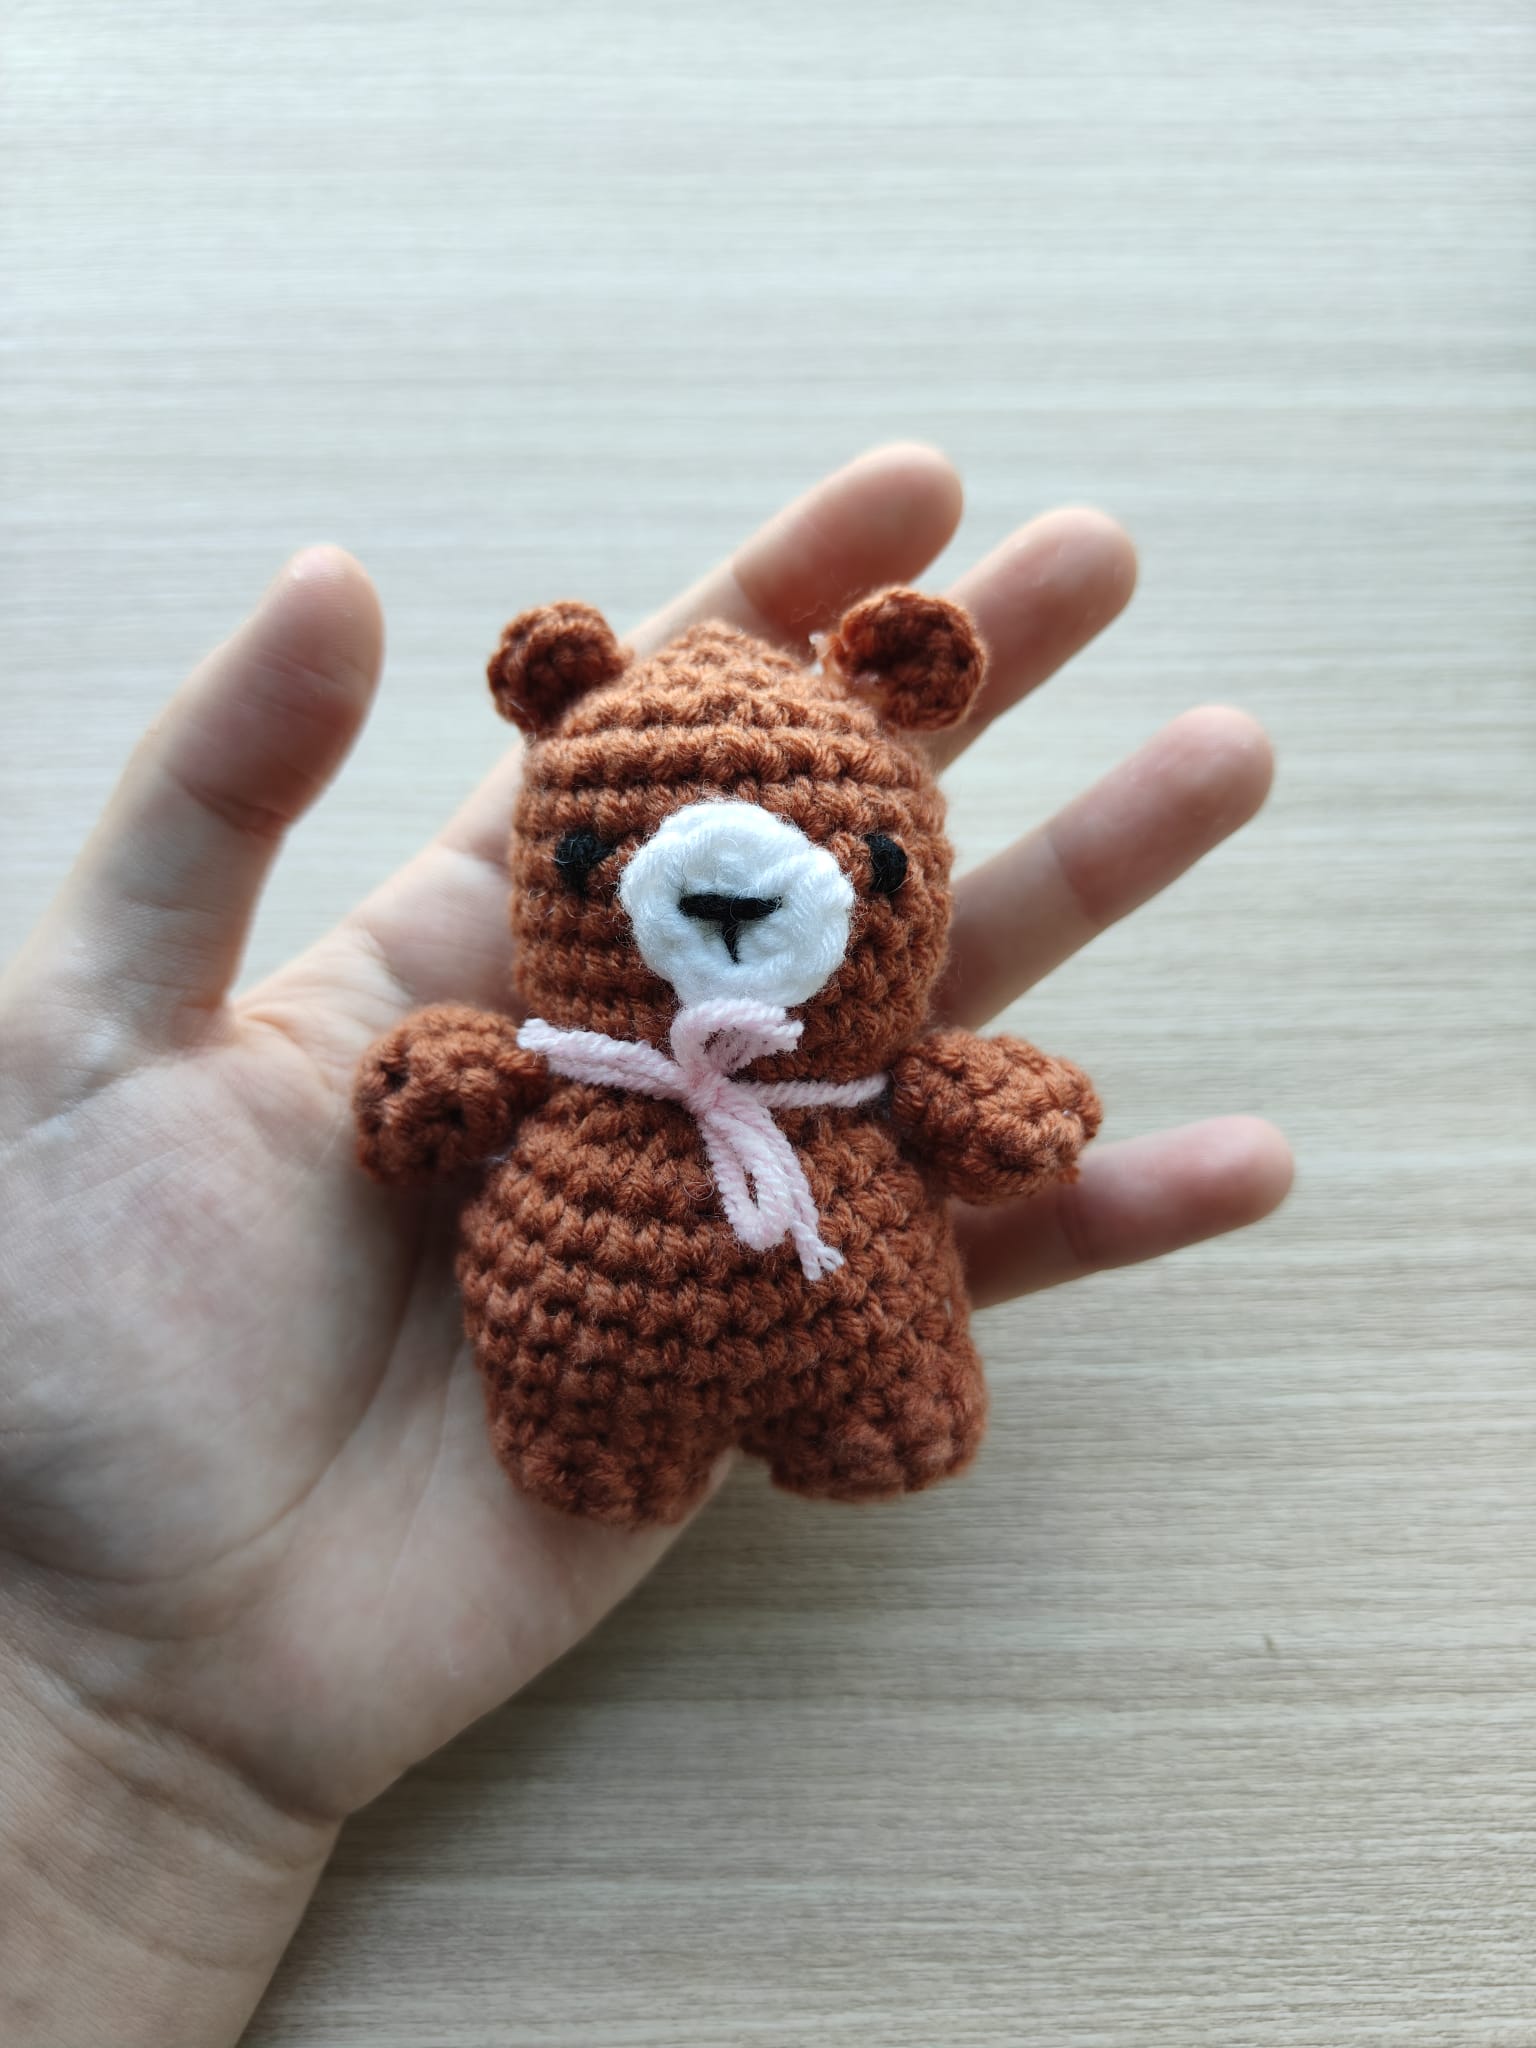
  • Bear Plushie 🧸

    Bear Plushie 🧸

    What I learned

    • Single crochet technique (SC)
    • Increase (INC) and decrease (DEC) stitches
    • Front loop only increase stitch (FLO inc)
    • Magic ring (MR)
    • Practice sewing the eyes and nose)

    Struggles

    • Crocheting the legs together was a little messy at first, but as the stitches come together it becomes clearer to crochet
    • Maybe I miscounted the crochets for the body, because it looks fatter on one side haha.
    • I did not hide the cut off/ left over yarn properly and it doesn’t look clean
    • It looked difficult to stitch the arms and ears to the bear, hence I used hot glue instead 😬. However, it doesn’t look as good as if it is stitched

      Thoughts

      It looked weird when I was crocheting the head as it doesn’t look proportionate to the body, but you know, trust the process.

      In the end, it came out so cute!

      Materials I used:

      • 3.0mm hook
      • 4-ply cotton yarn
      • Stitch marker (or a paper clip/ safety pin is fine)
      • Crochet needle
      • Stuffing
      • Scissors

    • Tulip🌷

      Tulip🌷

      What I learned

      • Single crochet technique (SC)
      • Back loop only single crochet (BLO sc)
      • Double crochet (DC)
      • Half double crochet (HDC)
      • Slip stitch (SL ST)
      • Practice sewing

      Struggles

      • Sewing is a little messy especially the top of the flower
      • The leaf is kind of flabby
      • Not sure how the leaf was attached, but I used glue

        Thoughts

        At first I couldn’t get the crochet to become a rectangle, so it took a few tries before it worked. It does not look as nice as the video’s, maybe the second try would be nicer.

        Materials I used:

        • 3.0mm hook
        • 4-ply cotton yarn
        • Stuffing
        • Scissors
        • Crochet needle
        • A stick (I used a wooden chopstick)
        • Hot glue/ super glue
      • Car Key Case

        Car Key Case

        What I learned

        • Single crochet technique (SC)
        • Increase (INC) and decrease (DEC) stitches
        • Magic ring (MR)
        • Slip stitches (SL ST)

        Struggles

        • The hair is a little time consuming and hard to handle for me
        • Glue is needed to stick the eyes to the body, if you don’t have the suitable glue, you can just stitch it on.
        • This can only fit automatic car keys

          Thoughts

          This was my first crochet project that needed so much details (mouth, hair, eyes, limbs) and it was really exciting.

          However, this case is better used as storage, as it is a little inconvenient when you need to take out the key to press the buttons

          Materials I used:

          • 3.0mm hook
          • 4-ply cotton yarn
          • Stitch marker (or a paper clip/ safety pin is fine)
          • Hot glue/ super glue (optional, if you don’t want to stitch)
          • Scissors
          • Stitch needle
        • Froggie 🐸

          Froggie 🐸

          What I learned

          • Single crochet technique (SC)
          • Simple chain stitch
          • Bobble stitch (BO) to shape the frog’s eyes

          Struggles

          • I was a little confused at round 1 when she said “9sc in front and back loop” but eventually figured it out
          • Didn’t know how to bobble stitch, so I learnt something new!

            Thoughts

            I don’t know why the limbs of my frog are extra curly, but its goofier that way.

            Also, in the video, she used safety eyes which are those plastic circles for its eyes. But I don’t have those, and used black yarn instead.

            Materials I used:

            • 3.0mm hook
            • 4-ply cotton yarn
            • Stitch marker (or a paper clip/ safety pin is fine)
            • Stuffing
            • Scissors
            • Stitch needle
          • Lemon Coaster πŸ‹

            Lemon Coaster πŸ‹

            What I learned

            • Magic ring technique (MR)
            • Simple chain stitch
            • Double crochet technique (DC) for the lemon body
            • Single crochet (SC), Half double crochet (HDC), slip stich (SL ST) for the leaf

            Struggles

            • The leaf was a little challenging and may take a bit of time to crochet.
            • I used pure cotton yarn for this project, which made it softer and more flimsy than my other coaster project, but it still works.
            • I glued the leaf onto the body of the lemon, so when my mug is placed on the leaf, it is tilted. Luckily the body of the lemon is big enough for the whole circumference of the mug (pic shown below)

              Thoughts

              I made this as a gift for my grandma, it’s really cute!

              Materials I used:

              • 3.0mm hook
              • 4-ply yarn
              • Stitch marker (or a paper clip/ safety pin is fine)
              • Scissors
            • Simple Coaster

              Simple Coaster

              What I learned

              • Magic ring technique (MR)
              • Double crochet technique(DC)
              • Slip stitch (SL ST)

              Struggles

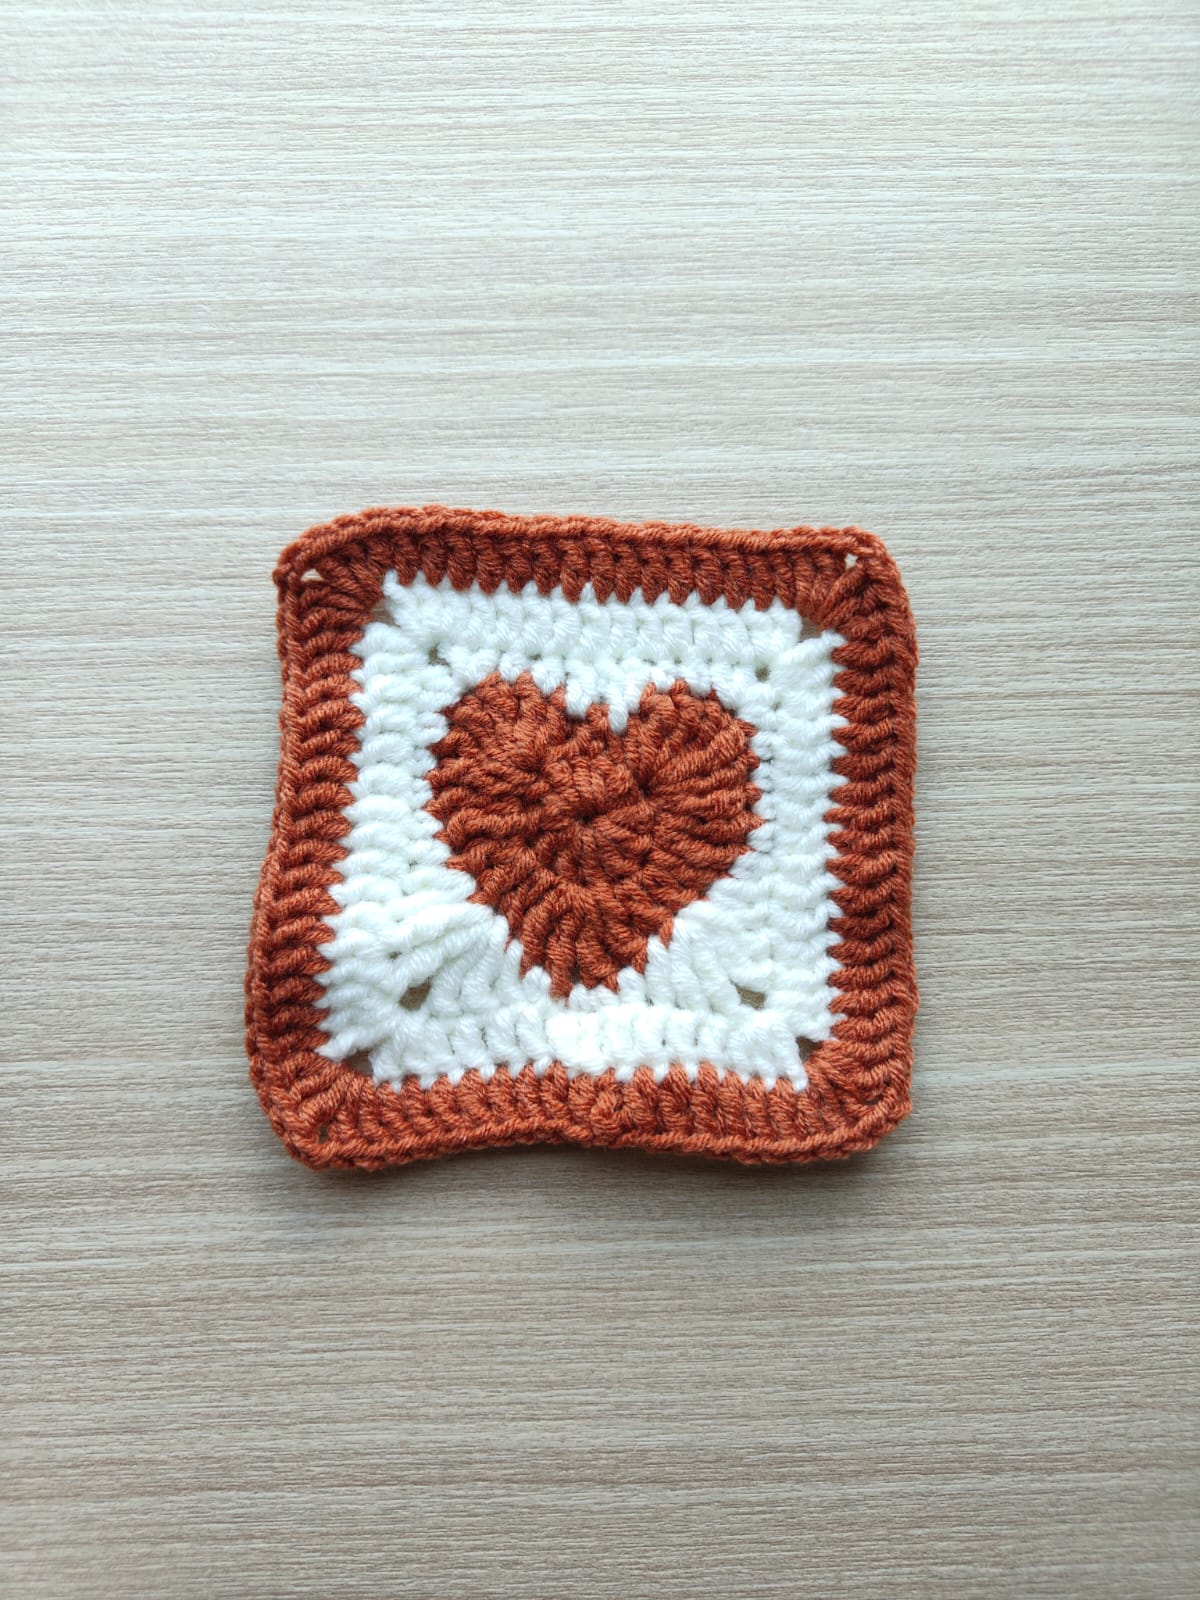
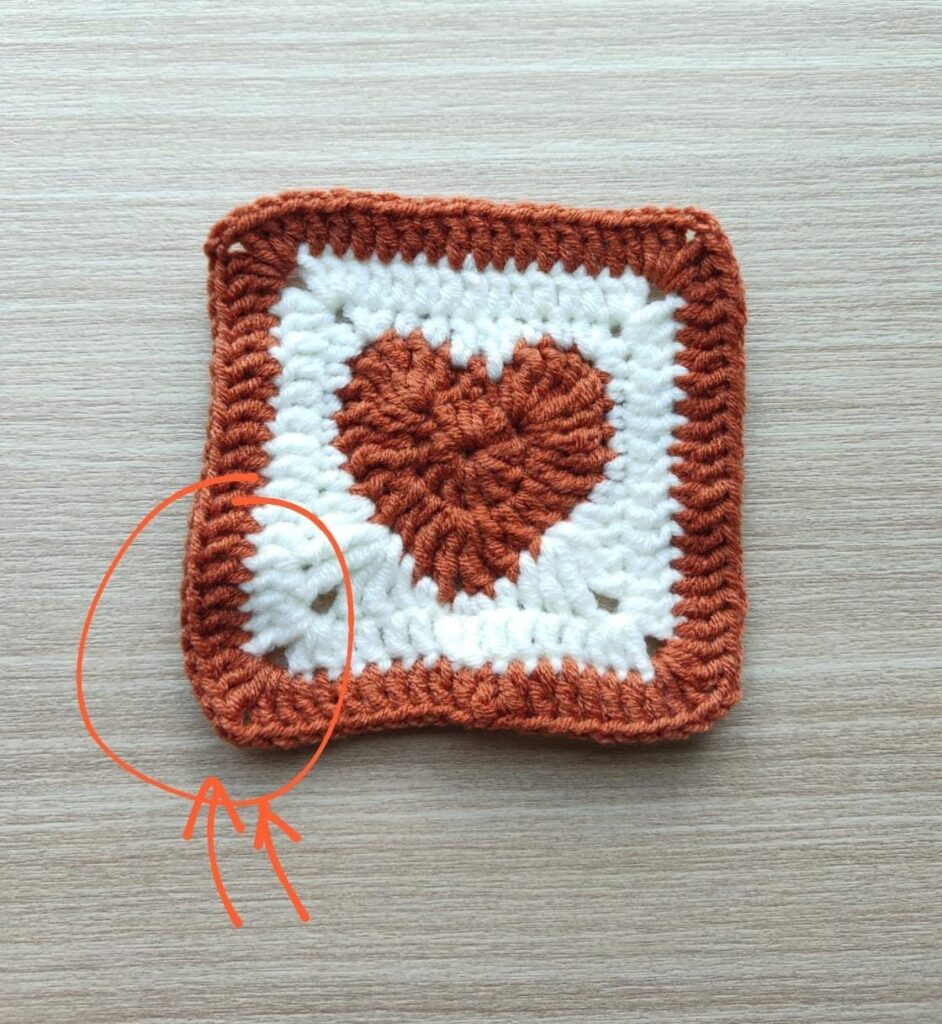
              • Did not have a stitch marker and kept losing count (here you can use a paper clip instead)
              • Crochet is quite wonky, but it’s quite tight as the yarn I used was recycled cotton yarn, which was harder than pure cotton.

              Thoughts

              This was my first crochet project, and although it is not very aesthetic, it is well used for my daily coffee!

              Materials I used:

              • 3.0mm hook
              • 4-ply yarn
              • Scissors